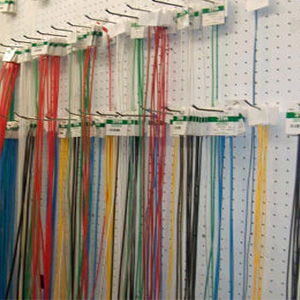
 Heat shrink products, such as tubing and wraparound sleeves, are essential tools for electrical insulation, cable protection, and repair. While these products are relatively easy to use, achieving professional results requires some finesse. Here are five tips to help you install heat shrink products like a pro:
1. Choose the Right Size and Type of Heat Shrink
Before starting, select the appropriate heat shrink tubing or sleeve for your project:
- Size: The tubing should be slightly larger than the component or cable before shrinking and shrink snugly once heated. A shrink ratio of 2:1 or 3:1 works for most applications.
- Material: Use the right material for your needs. Polyolefin is versatile, but other materials may offer better resistance to chemicals, UV, or heat.
- Wall Thickness: Consider heavy-wall tubing for demanding environments or thin-wall tubing for lighter insulation needs.
2. Prepare the Surface Thoroughly
Clean the surface of the cable or component before applying the heat shrink product:
- Remove dirt, grease, or debris that could interfere with adhesion.
- Use rubbing alcohol or a cleaning solution for a clean and smooth surface.
- For adhesive-lined tubing, ensure the surface is dry for a strong seal.
3. Measure and Cut Precisely
Accurate measurements are critical for a professional-looking result:
- Measure the heat shrink tubing to slightly overlap the area needing coverage.
- Use sharp scissors or a blade to make clean, straight cuts. Avoid jagged edges that can cause uneven shrinking.
4. Use the Right Heating Tool
Applying heat evenly is key to proper shrinking:
- Heat Guns: Use a heat gun for controlled and uniform heating. Avoid open flames as they can scorch the tubing.
- Even Heat Distribution: Move the heat gun in a circular or side-to-side motion to ensure the tubing shrinks evenly without bubbles or wrinkles.
- Temperature Control: Check the product’s recommended shrinking temperature to avoid overheating and damaging the material.
5. Inspect and Test After Installation
Once the tubing has fully shrunk, inspect your work:
- Look for gaps, bubbles, or uneven areas, and reheat gently if necessary.
- Ensure a tight, smooth fit around the cable or component.
- If using adhesive-lined tubing, confirm that the adhesive has properly melted and sealed.
By following these tips, you’ll achieve professional results with your heat shrink projects, ensuring durable and reliable insulation or repairs. With practice and attention to detail, you’ll master the art of heat shrink installation!


