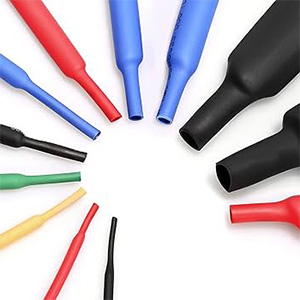
 Heat shrink ratios describe how much a heat shrink tube will reduce in size when heat is applied. This ratio is critical for selecting the right tubing for your project, ensuring a snug fit over the target object after shrinking. Here’s how heat shrink ratios work:
1. Understanding the Ratio
The ratio is typically expressed as X:1 (e.g., 2:1, 3:1, or 4:1), where:
- The first number (X) represents the tubing’s original size (expanded diameter).
- The second number (1) represents the tubing’s size after full shrinkage (recovered diameter).
For example, a 3:1 heat shrink tubing with an initial diameter of 3 inches will shrink to 1 inch in diameter when fully heated.
2. Calculating Fit
- Expanded Diameter: The initial size must fit easily over the largest part of the object you’re covering.
- Recovered Diameter: After shrinking, the tubing must securely conform to the smallest part of the object, ensuring a tight, protective fit.
3. When to Choose a Higher Ratio
Higher shrink ratios (e.g., 4:1) are useful for irregularly shaped objects or when there’s a significant difference between the widest and narrowest parts. Lower ratios (e.g., 2:1) are sufficient for more uniform shapes.
4. Applications
Heat shrink tubing is used in the following ways:
- Electrical Insulation: Protecting wires and connections.
- Mechanical Protection: Guarding against abrasion.
- Environmental Sealing: Shielding against moisture, dust, and chemicals.
5. Material Considerations
Heat shrink tubes are made from materials like polyolefin, PVC, or fluoropolymers, each with specific heat thresholds and properties, such as UV resistance or flame retardancy.
Always verify the tubing’s expanded and recovered diameters to match your application’s requirements. Add a small margin to the expanded diameter to ensure it fits over the object before shrinking.


